
In the hemming tutorial for the Vide Knit Pants Sewing Pattern, I’ll show an alternative hemming technique – invisible hemming using a machine blind hem stitch.

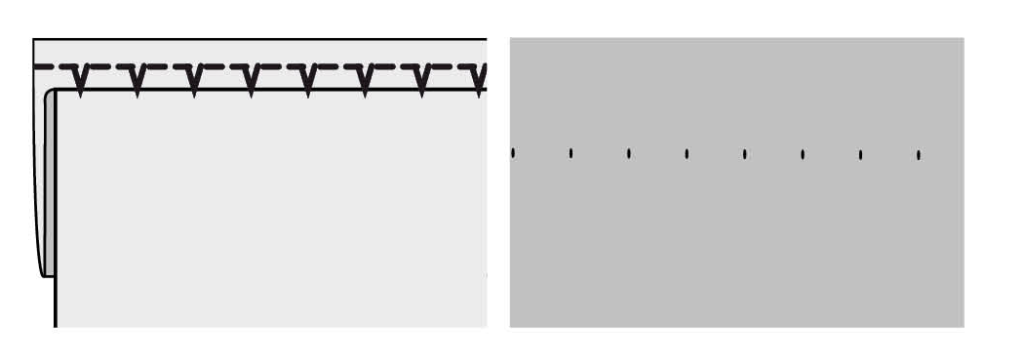
A machine blind hem is a stitch that combines a straight stitch or a narrow zigzag stitch with a wide zigzag in even intervals. The wide zigzag catches the inside of the fabric, ideally just a thread, and this will secure the seam while also being practically invisible on the outside.
Preparation
Overcast the edges. This step is optional, but if you have a serger I highly recommend that you overcast the knit fabric hem with a 3-thread wide overlock. To prevent the fabric from stretching out during hemming you can increase the differential feed slightly on the serger.

Measure and fold the hem. The hem is 2.5 cm wide (1″). It’s easier to fold and press the hem before joining the pieces together, but you will probably want to measure the hem after fitting the pants on your body, to make sure it hits at the right spot.
Press the hem
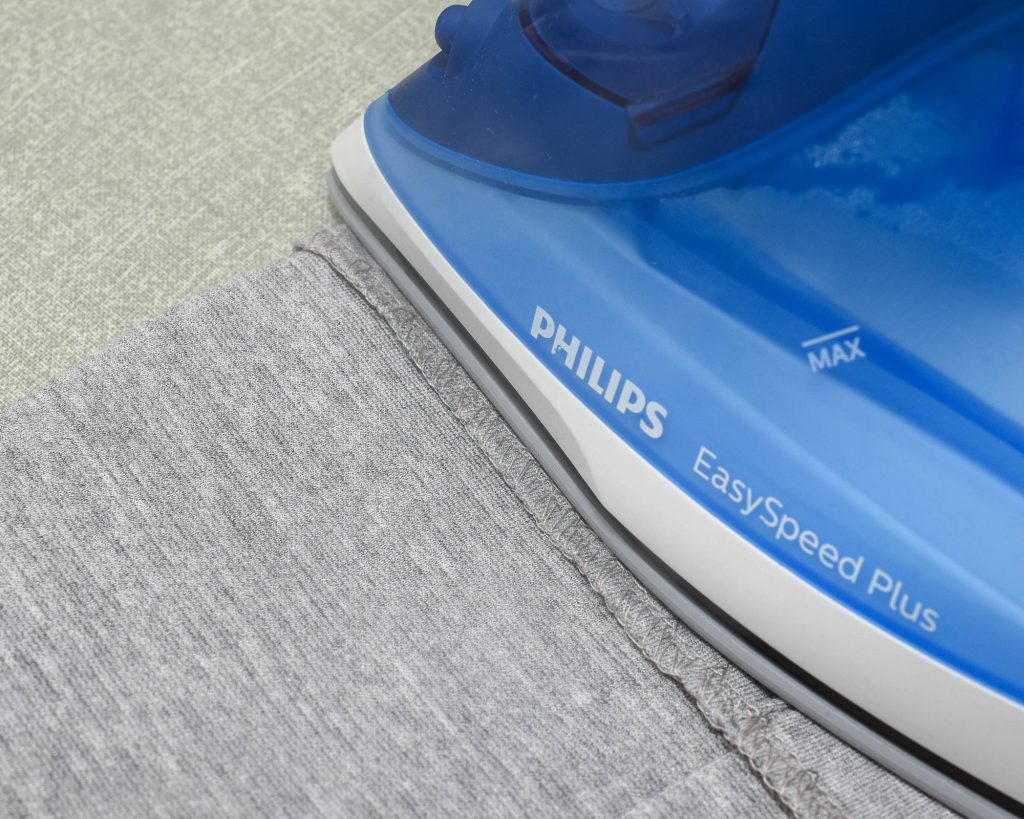
Press along the fold. Avoid pressing the upper edge as it might create marks on the right side of the pants.
Tip: Fold the side seam allowances in opposite direction to reduce bulk. This makes hemming easier and creates a more even fold.
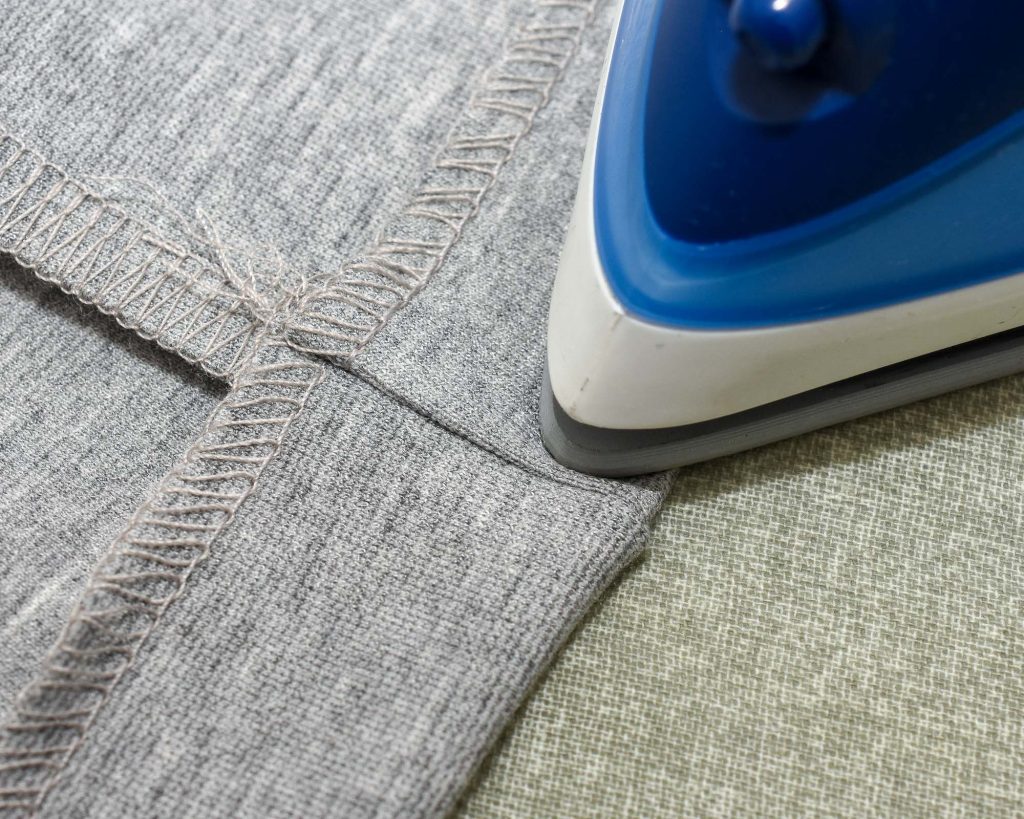
Press again to flatten out the folded seam allowances.
Sewing the blind hem
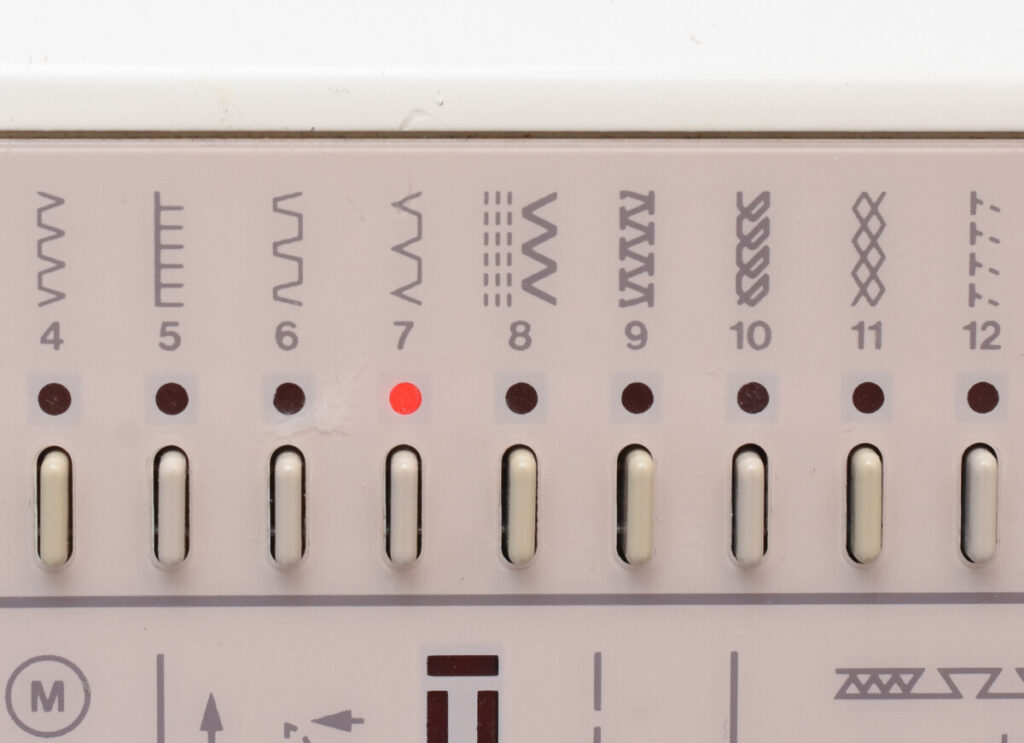
Switch to a blind hem presser foot and select the blind hem stitch on your machine (check your manual if you are unsure).

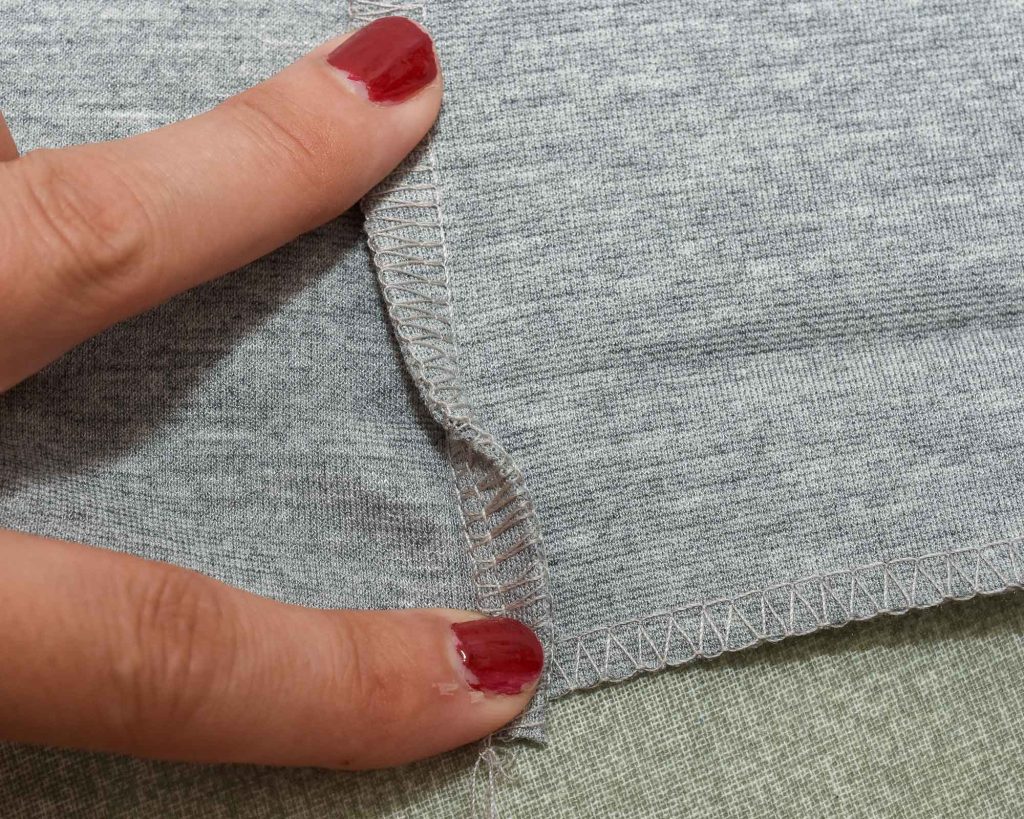
Fold the outer layer back so that only a 6 to 10 mm (¼–3/8) extension remains on the inner edge. This area is where the lower part of the blind hem stitch will be positioned.
Align the fabric with the presser foot guide. The fold should align with the blade, make sure there is no gap or that the fabric is scrunched up towards the blade. It should rest along the blade, but not be pressed against it.

Start sewing, you don’t have to backstitch in the beginning. Stop regularly to check to see that you are doing it correctly.
If the needle catches too much fabric: Decrease the stitch width (very minimally).
If the needle misses the fabric: Increase the stitch width.
Ideally, do a sample before sewing to make sure the stitch is set up correctly.
When you’ve hemmed the opening, let the stitch overlap and secure with a short backstitch once the seam is finished.
Press again to flatten out any dimples. You might get pits where the stitch caught the outer fabric. A pressing with the iron will usually smooth out that area.

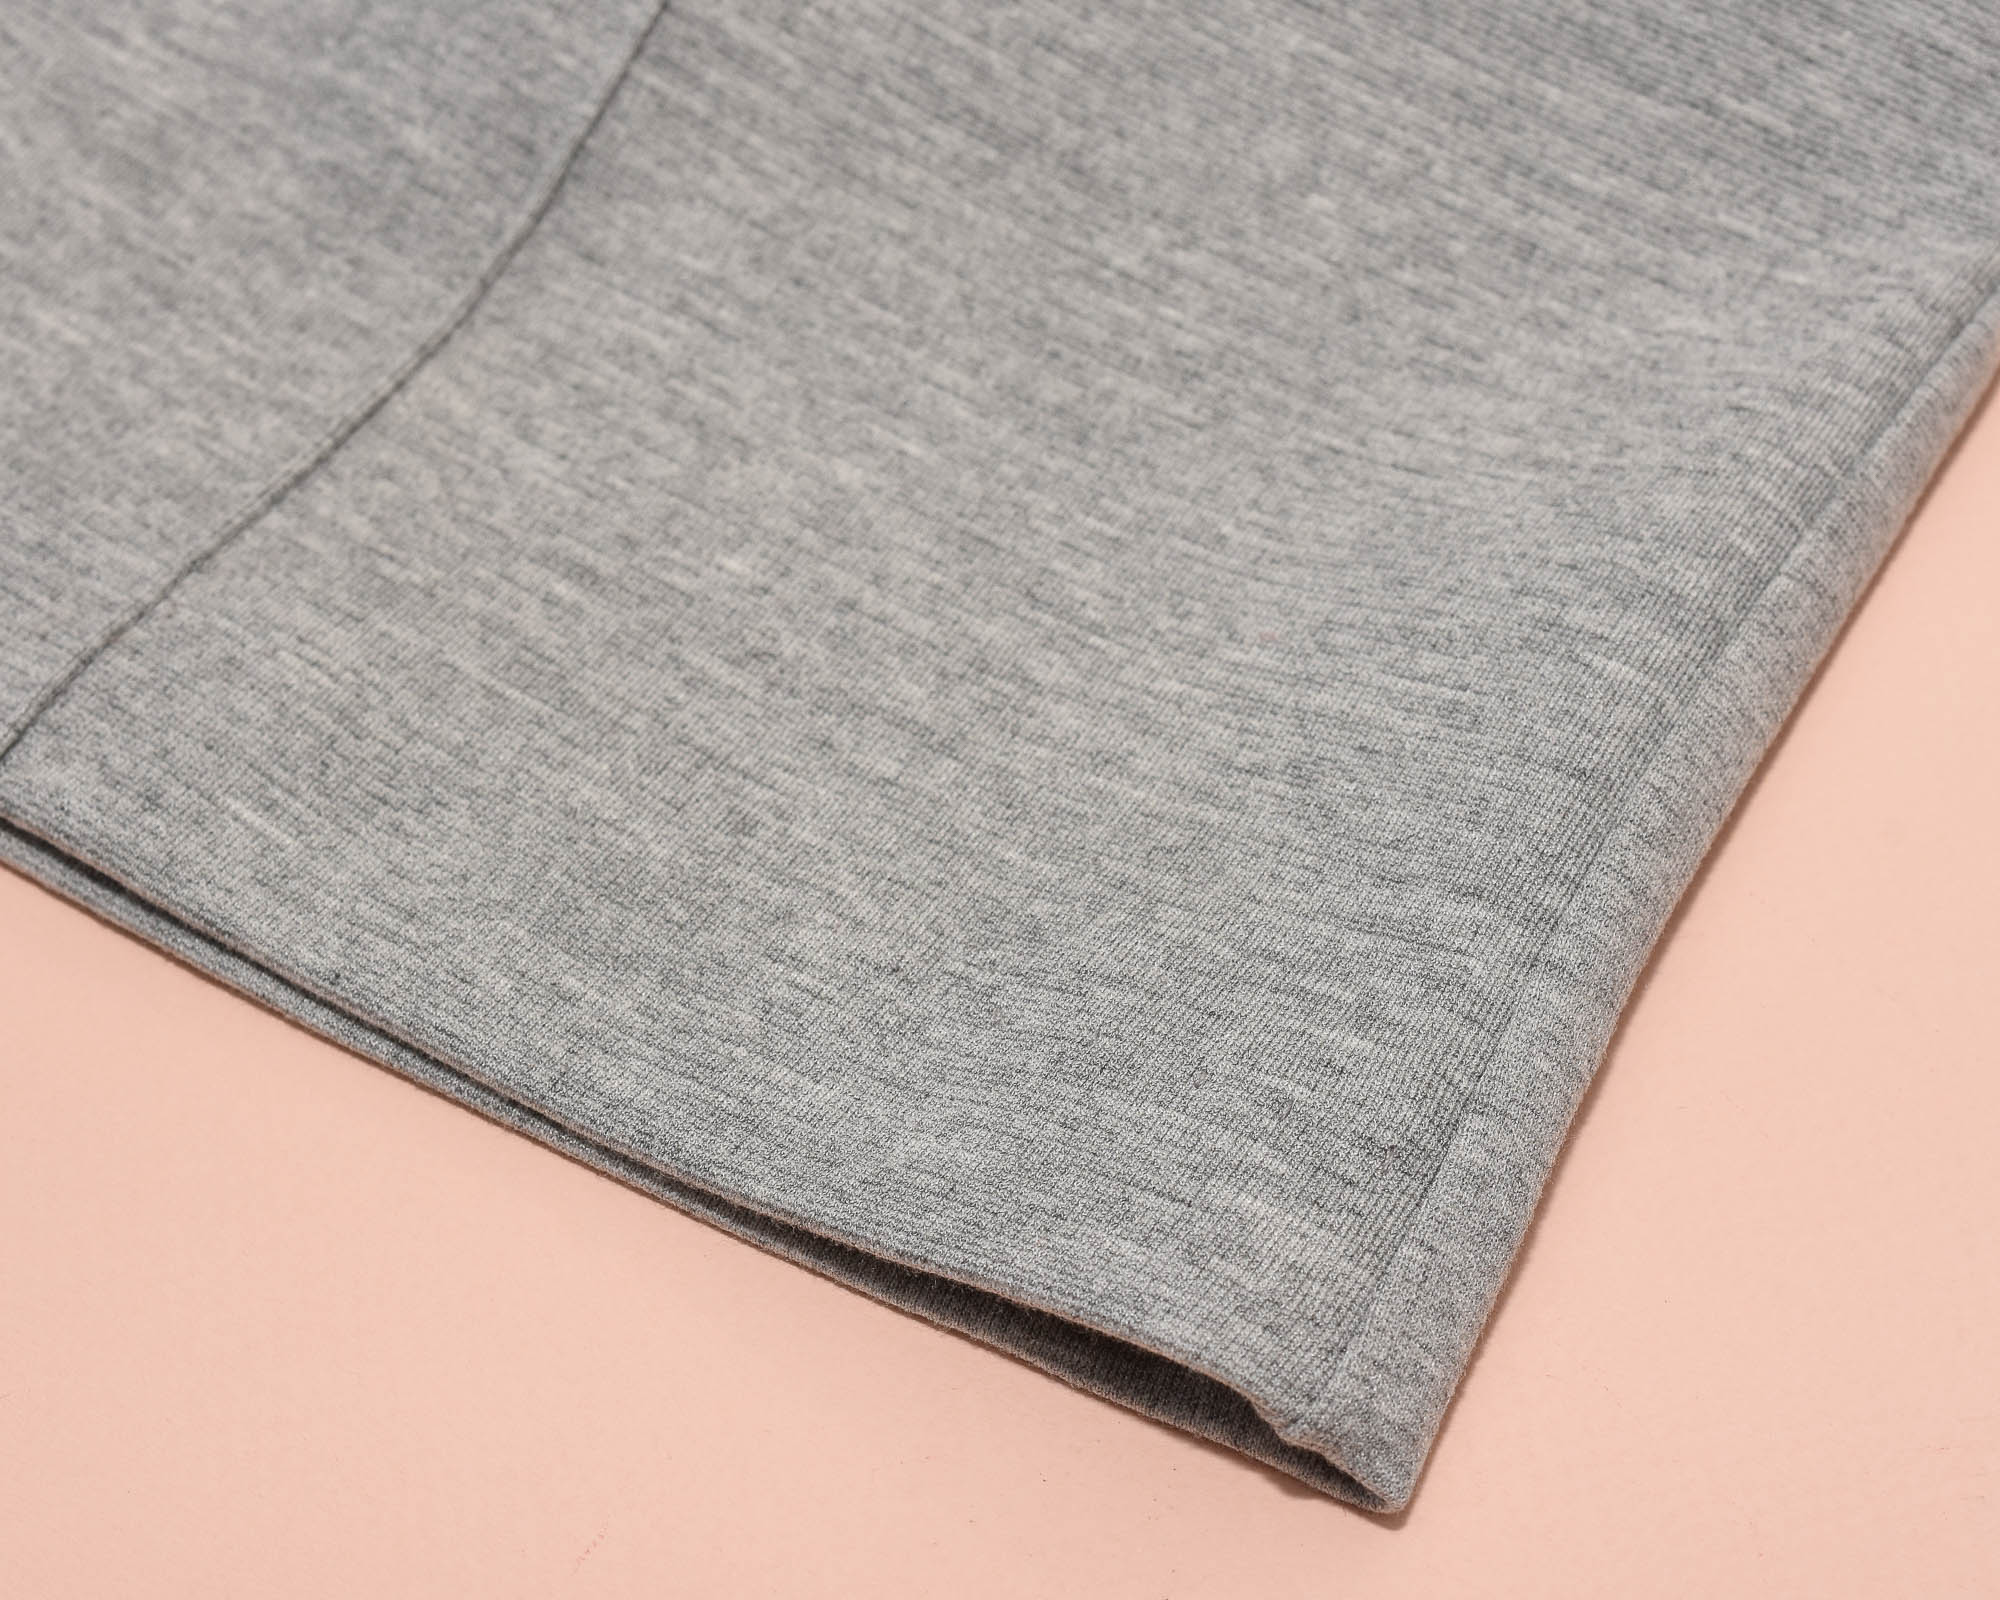
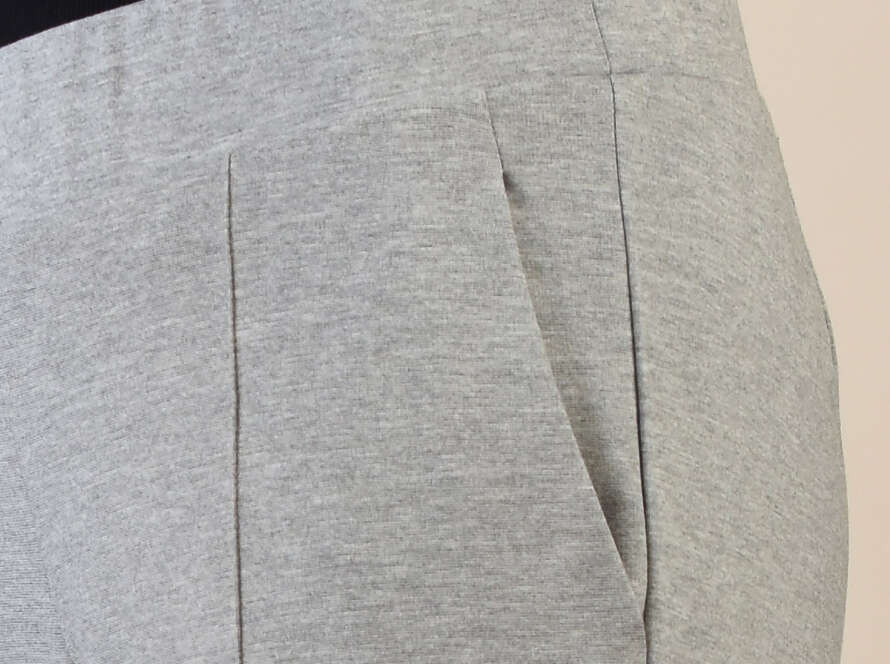
The finished blind hem. As you can see it’s practically invisible on the outside. If you are having some issues or want even more tips, check out my complete guide to machine blind hem stitching.
The complete Vide Sew-Along series.

Now your Vide Pants are done! Congrats and thank you for sewing up my pattern. Please feel free to share, on Instagram you can tag @laststitch and #videpants if you want to.
1 Comment
Karey
This is a very helpful tutorial. My serger also has an invisible hem stitch. But I think it compromises both the edge finish and the hem. I get a much better finish using the two-step process you describe.
For casual garments I just topstitch with a narrow zigzag stitch to finish knit hems, but any garments for more formal settings I use the invisible hem finish for sleeve hems as well as trousers and skirts.
Comments are closed.