There are tons of advice on sewing the perfect dart and I think it is mostly up to personal preferences. But I want to share my preferred method for sewing darts that is also super quick – with minimal marking and prep work. This method works best for straight darts, for curved ones I often have to rely on some kind of line marking.
Instead of using tracing paper or thread tacks I just mark the darts using an awl and a pair of scissors. First step is to punch a hole at the end(s) of the dart.

Then make holes on both sides of the dart, somewhere in the middle.
If you make a single straight dart also clip the ends with a scissor. This is all the marking you need!
This is how it should look like. You will use the holes as a guide and sew outside them. [I accentuated the holes in Photoshop so that they would show up in the photo, they are more discreet in real life]

Fold the dart in the middle and put pins in the corresponding notches (holes). You will not sew over the needles, they are just a guide and will be removed during the sewing process. I

This part requires a little practice and you need to use some eye balling here and aim for an even diagonal line. I like to make the stitch length shorter when I’m approaching the end and then I just sew a few small stitches and let them catch the fold of the fabric. You can also do a tiny pivot with the needle to sew the last few stitches. I never ever back stitch as it will make the dart ends bulky. The seam ends just below the lower hole.
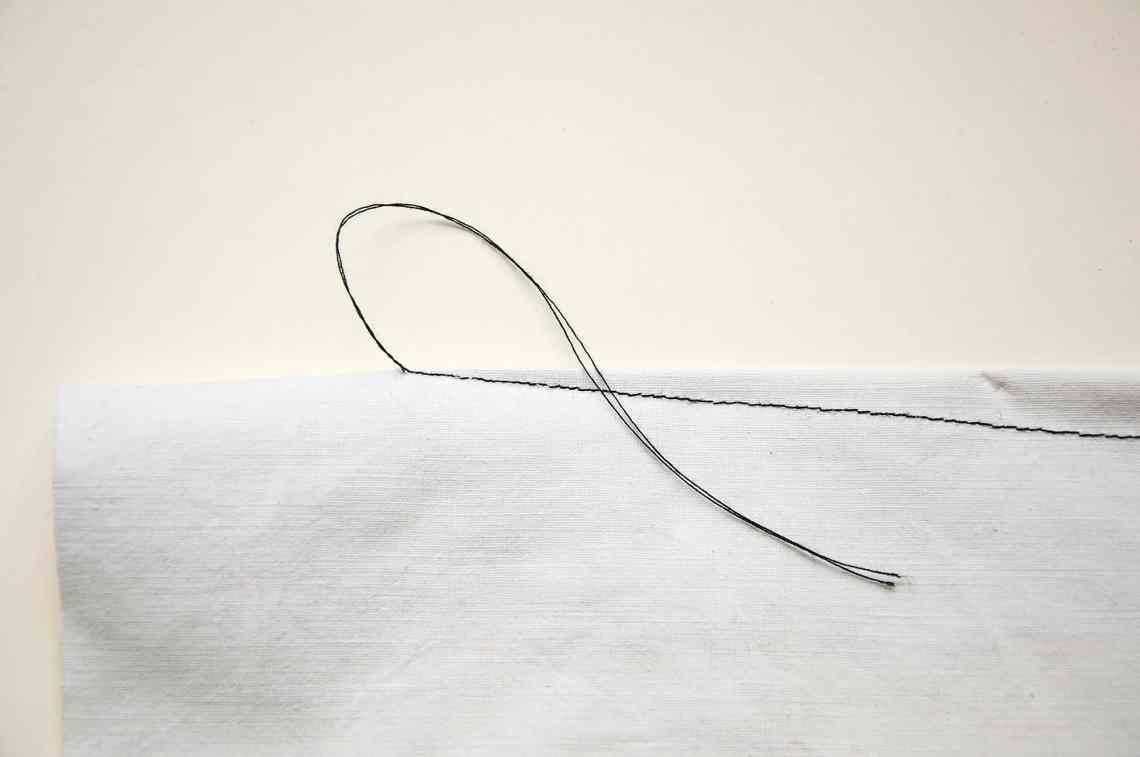
Instead I do three knots at the end. That will suffice.
Now a little pressing and then you’re done! This dart may not be flawless since I used an vintage bed linen that is so firmly woven that it almost repels the needle. But the dart looks good enough in my book anyway!

Other tutorials that involves an awl
How to mark pleats with an awl
Making many buttonholes quickly
Doing rivets on jeans


