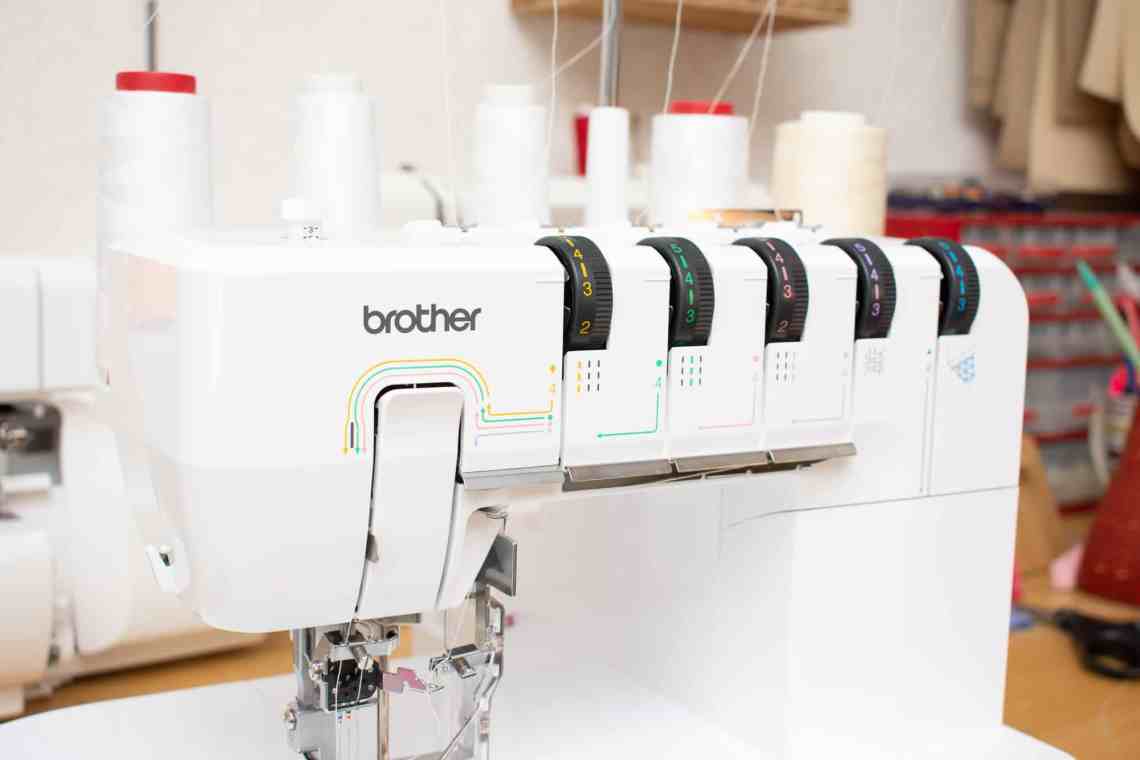
The Brother CV3550 is one of the first top cover stitch machines for the domestic market. Now what is a top cover you might ask? Well, it’s a stitch that looks like this:

If you take a closer look at many RTW knit garments, especially activewear, you will see that this stitch is very common on hems. The top cover stitch is on the top and on the reverse side there is a regular 3-needle coverstitch seam. I was able to borrow this machine from a friend for research purposes when writing my upcoming coverstitch book. So this CV3550 review is only meant as a first impression look at the machine, I wasn’t able to use it enough to be able to write an extensive review.

Threading: This machines use up to five threads and can do all a regular 3-needle coverstitch machine can do, plus a 4-thread (wide and narrow) and 5 thread top cover stitch. So you get three more stitches compared to a regular coverstitch machine. I found the threading to be more of a hassle compared to my Janome Coverpro, especially when using the top cover attachment. You really have to be meticulous to get it right

5 thread top cover stitch.
 4-thread narrow
 4-thread wide (these samples are not 100% perfect since I was not able to fine tune my skills)

The top cover attachment. The top looper thread is stitched using a removable attachment that moves back and forth when sewing. If you remove the attachment, the Brother CV3550 is just like a regular coverstitch machine. Getting the top looper thread to stay put in the slot was a struggle, however, this machine has a learning curve for sure! You really need to align the thread properly to make this work.

When it doesn’t work you’ll get an uneven seam, as you can see in the photo. That said, all Brother CV3550 users that I have talked to say that after some practice, this problem goes away. So this is just about being patient and learn the proper techniques.

Chain off. The Brother 3550 can sew a chain off stitch just like a serger, love love love this feature!

The top looper thread. This is the part that is tricky to master when you are starting out. You really need to place the thread right before sewing, plus the manual recommends starting with the regular 3-needle coverstitch and then add the top cover thread.

The lower lever moves back and forth forming the top cover stitch. Once you get it right it will sew this seam without hassle.
Pros and cons of the Brother CV3550
Pros
- You get a lot of stitches (3 more than a regular 3-needle coverstitch)
- It comes with a clear presser foot, which is awesome. This should really be the standard on all coverstitch machines.
- I can totally see myself getting one in the future! I love the stitch and when my friend (and owner of the machine) demonstrated it to me, she managed to get a beautiful stitch, So all problems I encountered are related to me not fully being used to the machine.
- The price is around the same compared to similar regular coverstitch machines, so it does seem like a good value to me. For comparison, see Brother CV3550 vs Juki MCS-1500 (Brother is currently cheaper), at least on Amazon.co.uk (Amazon affiliate links).
Cons
- The top-cover set-up is more cumbersome to learn, thread and use compared to regular coverstitch stitches. I wish they had made it a bit easier, but perhaps future models will have improved in this area?
- I would not label this as a beginner coverstitch machine, as there are even more variables that can go wrong compared to a regular coverstitch machine. I think it is important to understand the coverstitch basics before moving on to this machine. That said it can be used without the top cover attachment which makes it easier to use that way. Plus if you are one of those people who are patient and actually read the manual thoroughly before sewing, then this machine could be suitable, even if you are new to coverstitching. But let’s be real, most people don’t 🙂
- The presser foot is a bit low compared to other coverstitch machines I’ve used. This could make sewing over thicker layers an issue.
Have you tried it and what did you think?

This post contains Amazon affiliate links, meaning that a commission is earned from qualifying purchases.


