How to sew pockets
So here is a really quick method on how to sew pockets that will yield good result if you put a little effort into finding the perfect fold line.

Step 1. Interface the fabric
Interface the area of the pocket openings. This will keep the pockets from stretching out and also ease the stress of the seam on the fabric.
Step 2. Attach the pocket pieces
Attach the pockets pieces to the garment using a serger/stretch seam
Step 3. Sew the side and pocket seams
Now sew the entire side seam AND the outer pocket seam in one continuous move. Just stretch the fabric in the corner to make sure the seam will cover the fabric.

Step 4. Find and mark the seams line for the opening
This is the most important step in this how to sew pockets tutorial. Mark the seam lines for the opening, preferably by using a ruler. It is paramount that this seam aligns with rest of the side seam, which is why I recommend basting the seam before sewing, to make sure you got it right. Another option that I like is to press the pocket fold from the outside and then use the crease as your guide.
Step 5. Sew the opening seams
Once you got the seam line right, use a straight stitch or a narrow zigzag (depending on the stretch of the fabric) to create the opening. As you can see the seam can end quite far out and I didn’t interface that area fully. A lesson learned until next time!
Step 6. Finished
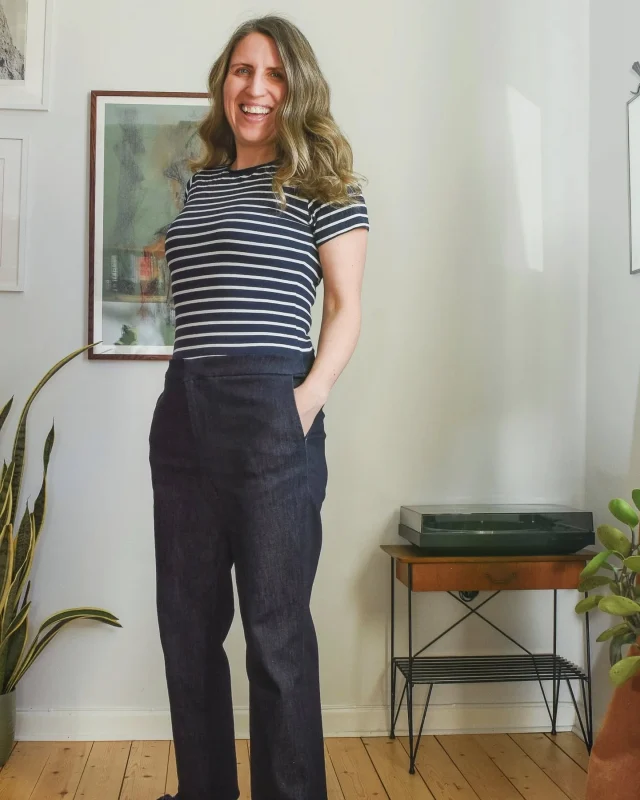
The finished pocket. It looks fairly discreet and folds nicely thanks to the groundwork.


 I used an old shirt for
 Pattern is from @burda_sty


