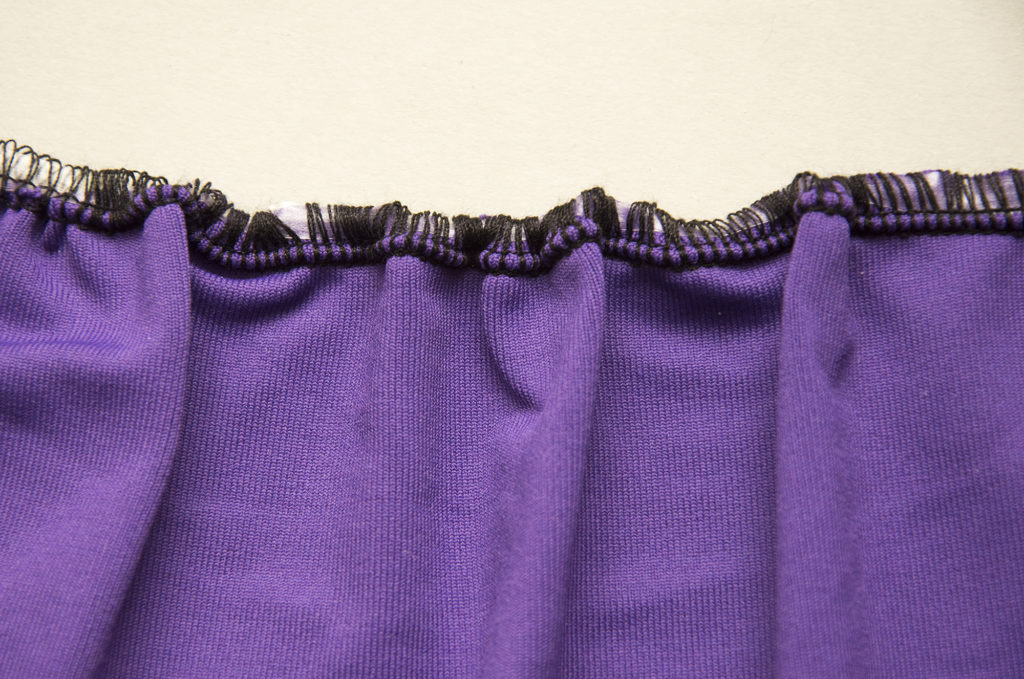
I’ve been experimenting lately sewing gathers on the serger, and I think that it’s actually better than a regular sewing machine in some instances and I thought I should share some of my experiments and what you can achieve using different settings and techniques.
The basics of sewing gathers with a serger
By adjusting the needle tensions and the differential feed you can create different amounts of gathers. You can also pull the needle threads afterwards to adjust the gathers, just like one would do on a regular sewing machine. For this method a regular 3-thread overlock stitch is recommended.
I used this gathering method on my latest workout top and it worked very well. So here goes my guide for various ways to sew gathers with a serger/overlock machine (without using a gathering presser foot).
1. “Gathers” just using the maximum setting on differential feed

I put gathers in quotation marks here because on knits, maxing out the differential feed won’t really create much gathers. In fact on my serger I sometimes use this setting when I’m sewing very stretchy knits cross-ways. But on woven fabrics I could see that this would work, especially for easing, such as sleeves.
Bonus tip: To create more gathers, just pull the needle threads

2. Gathers using differential feed and increasing the needle tension ca 50%

Now we are talking, Increasing the needle tension definitely creates some (subtle gathers). This is the setting I ended up using for my workout top.
3. Gathers using differential feed and maximum needle tension

Bam! If you want plenty of gathers. this is the way to go! Again, you can adjust the gathers by pulling the needle threads or spreading the fabric out to make less gathers (just make sure that have plenty of extra thread strands).

This is how the max needle tension looks like on my machine (for reference the normal settings is 5 for the left needle and 4 for the right needle on this stitch)
4. Gathers using clear elastic

This method is great for gathering knits that will be stretched out regularly. I’ve used it several times when I’ve made gathered workout tops with a ribbing waist band. The advantage of using clear elastic over regular elastic is that it is very thin and doesn’t create a bulky seam. However it’s more fiddly than previously mentioned methods, at least for me as I don’t own an elastic presser foot for my serger. I suppose it would be much easier if there was a slot in the presser foot to place the elastic. Also clear elastic is less stable and more sticky which also can cause some issues. For more ideas on how to use clear elastic see my post Using clear elastic to stabilize shoulder seams on knits

To gather with clear elastic
The length of the clear elastic should be the finished length of what you want to gather plus 3-4 cm extra on each side (~1.5 inches)
If you are sewing a long stretch of fabric evenly distribute the elastic by pinning it with a few pins along the edge
Place the elastic and the fabric under the presser foot, with the extra elastic on each side to help you guide the elastic while sewing
Serge over the elastic with a 3-thread serger seam, stretching the elastic out as you sew.
Summary of my serger gathers experiments
I think the serger gathers are much more stable and even compared to the traditional sewing machine method where you sew two rows of straight stitches that you do and pull the strands. However there will be a bit more bulk too, so that might be a thing to consider when using this method.

Sewing tutorial Last Stitch


